M2Slim Install Guide
Step 7: M.2 SSD Cutout
Overview
Creating a large, clean cutout on the PS2 shell can be a substantial undertaking. This documentation aims to make this process as easy as possible either using common hand tools or professional machine.For modders using hand tools, the included 3D printed jig provides an easy way to locate and guide your cut. There are step by step guides and build logs to assist you.Those with access to a CNC or manual milling machine may wish to use the engineering drawings to accurately make the cut. This document will also allow the use of a CNC service to make the cut for you.Currently there is a step-by-step guide for using a knife to create the cutout, but this is not recommended due to the risk of injury and time required. In the future, a more conventional method using a saw or Dremel and finishing files will be provided.
Method
Use the links bellow to navigate to the relevant guide for the method you wish to use to make the shell cut.
Scroll down for these steps.
This is provided more as a reference than a guide due to the danger of using sharp knives. You may follow this to
Step 7.3: Saw and file [WIP]
Going forward this will be the recommended method of making the cutout.
Step 7.1.1 Using a CNC or mill
This PDF will provide you or a CNC service with the information needed to cut the shell on the first pageDownload: M2Slim Prerelease Cutout Drawing.pdfThe second page outlines features of the PS2 shell such as the screw bosses that require clearance on the back side of the shell to securely mount it while milling.Use your own discretion to determine spindle speed and feedrate to avoid melting the plastic or causing excessive vibration during cutting.If using a manual mill don't forget to account for the diameter of your endmill when measuring out the length of cut.
Step 7.1.2 Trim plastic rib
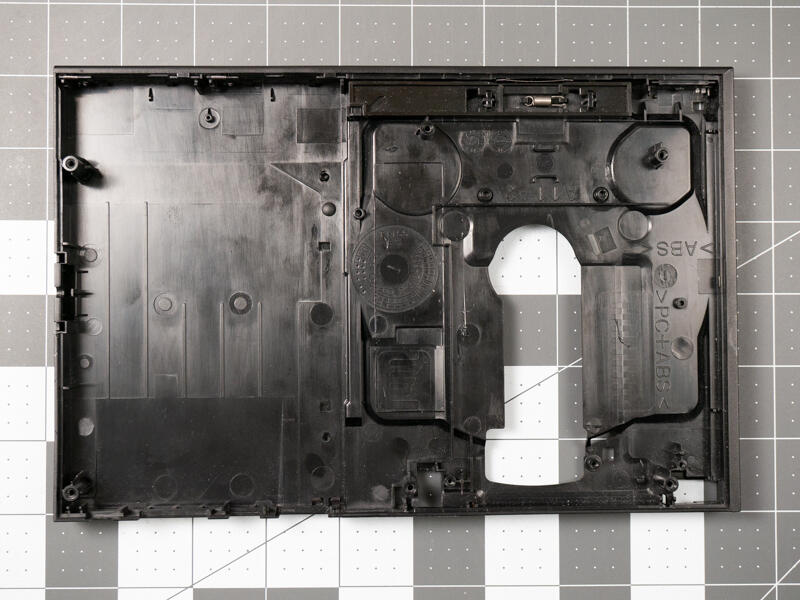
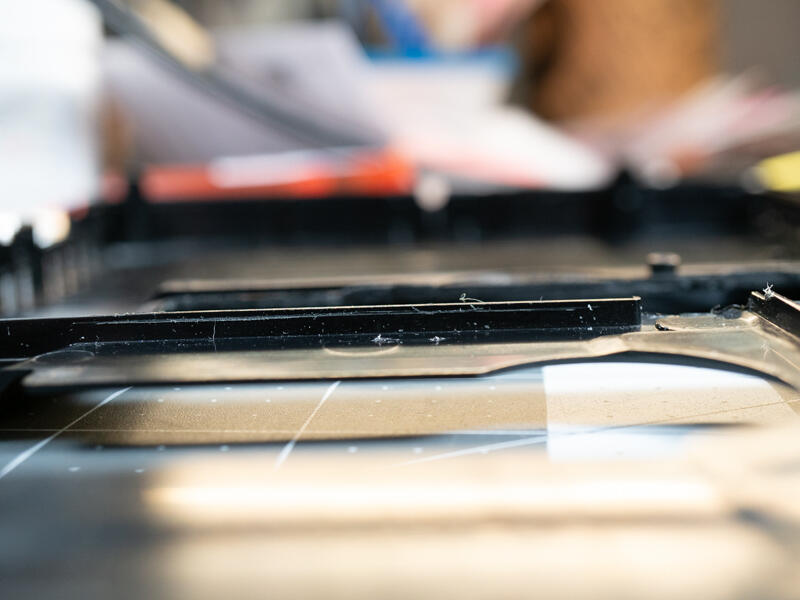
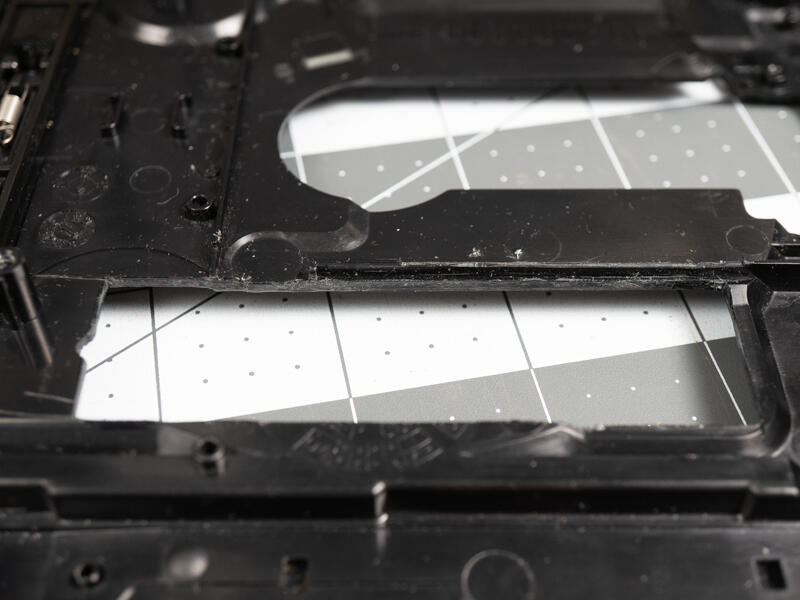
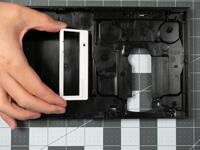
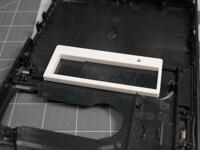
Trim the plastic rib that was used for jig alignment to make space for the M2Slim board when assembled.
I removed 1mm of plastic here but 1.5mm would be better for clearance. This rib lies directly on top of the solder joints of the adapter board and flex PCB.
You can remove the entire rib but it will make the area noticeably less rigid. It does not matter but I prefer to leave as much as possible.